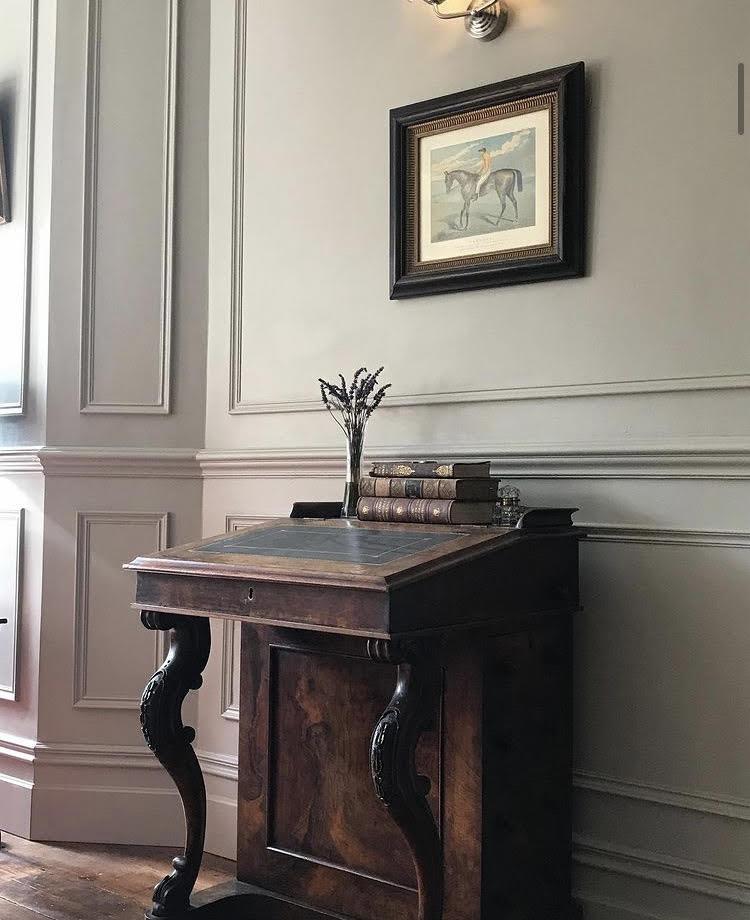
DIY Panelling: How I Transformed My Family Home with Patience, Precision, and the Right Tools
There’s something incredibly satisfying about taking on a DIY project that not only enhances the aesthetic of your home but also gives you a sense of accomplishment. Over the past few years, I decided to add a timeless touch to my family home by installing DIY paneling, and let me tell you, the process was so worth it!
I’ve always admired the classic look of traditional wall panelling, and I wanted to bring that charm into my own family home. I’ll be honest, it does take patience and the right tools, but trust me, it’s totally doable even if you’re not a pro.

The Planning Stage
Before jumping in, I spent time choosing the right style. I opted for the plant on panelling look because it’s both classic and versatile and much easier to instal compared to the inset paneling look. Planning is key, and I made sure to measure twice and cut once to avoid any mistakes, accuracy is everything in a project like this. It’s also worthwhile to check your design by marking it out directly on the wall with painter’s tape. This way, you can imagine how the panelling will look and adjust before making any cuts.

Getting the Tools Ready
For this project, having the right tools made all the difference. One of the most important tools you’ll need is a compound miter saw. This is essential for getting those precise, clean cuts, especially when working with paneling that requires accuracy. If you’ve never used one before, don’t worry! With a bit of practice, you’ll get the hang of it. Just remember to exercise caution when handling power tools. Safety first!
Alongside the miter saw, I also used adhesive, nails, a level, and a roller for smooth painting. Preparation is everything, so make sure you have all your materials ready before you start.
The Installation Process
Once I had my panels cut and ready, I started at the bottom of the wall and worked my way up. I used a level and spacers to ensure everything was straight, trust me, you don’t want to skip this step! After securing the panels with both adhesive and nails, I filled in any gaps with wood filler, sanded it down, and primed the surface for painting.

Painting and Finishing Touches
For a truly authentic look, I tend to paint the panel mouldings, skirting, and coving the same colour as the panelling itself. This unifies the entire space and gives it that timeless, cohesive feel. For paint, I love using a water-based eggshell finish. It gives a soft sheen that feels traditional and classic, while also being durable and easy to clean. The key here is also in the details: it’s important to caulk all the joints and sand everything well before painting to ensure a smooth, professional finish.
Using a roller gave me a smooth finish on the panels, while a small brush helped with the corners and mouldings. When the paint dried, I was amazed at how the room transformed, it instantly felt more polished and sophisticated!

My Final Thoughts
If you’ve been thinking about tackling a DIY panelling project, go for it! With patience, the right tools (especially that compound miter saw), and some careful attention to detail like caulking, sanding, and choosing the right paint, you can completely transform your space. There’s nothing quite like stepping back and admiring the result of your hard work.
